

A Guide to Shipping Setup In SuiteCommerce Advanced
Configuring shipping in NetSuite:
The first step to configuring shipping in NetSuite SuiteCommerce Advanced is to enable features that will allow your fulfillment team to easily mimic their fulfillment processes in the NetSuite workflow. This can be done on the Enable Features page at Setup>Company>Enable Features.
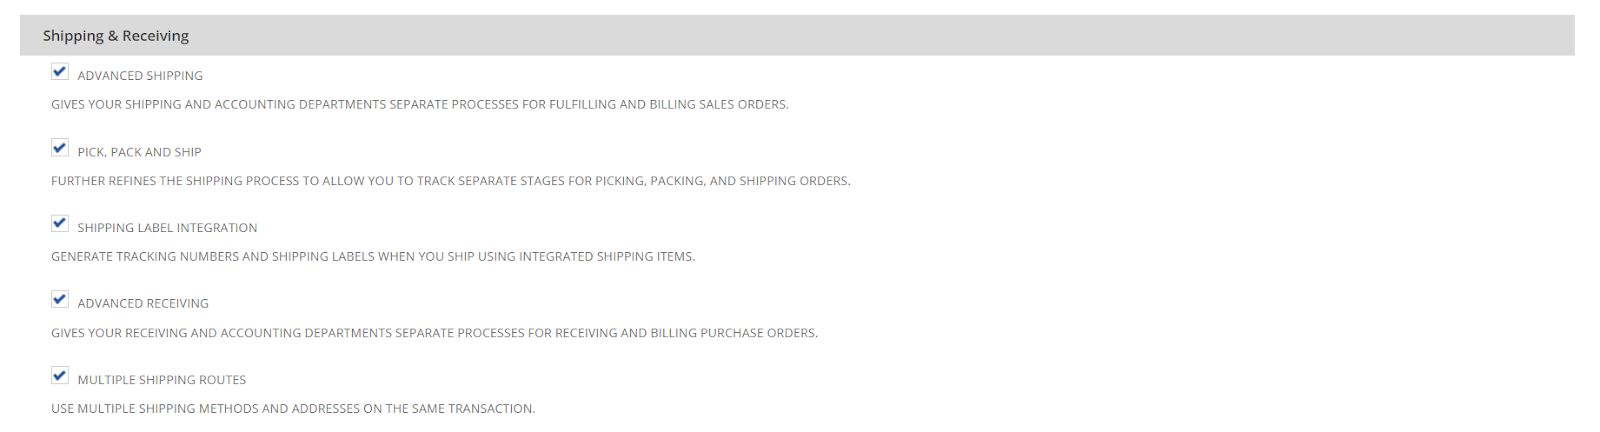
The Transactions tab provides you with a section of features dedicated solely to
Shipping & Receiving:
- Advanced Shipping: Select this tab if you want to keep separate records for each stage in the fulfillment and billing process (i.e. Item Fulfillments and cash sales/invoices).
- Pick, Pack, and Ship: If you have separate stages for picking, packing, and shipping your inventory items before billing, then enable this feature. NetSuite will allow your warehouse employees to track inventory through various stages and mark orders picked and packed prior to sending them out the door.
- Shipping Label Integration: Enabling this feature allows you to print FedEx, UPS, and USPS labels from NetSuite with an integration to your shipping accounts. Using thermal label printers or regular paper printers, you can now get the whole process done right from your NetSuite account.
- Multiple Shipping Routes: If you’re a distributor whose customers want the items on their orders shipped to different locations, this feature allows you to do that. It even allows you to use different shipping methods per line item.
Once you’ve chosen your shipping options in NetSuite, you can start connecting your NetSuite account to your FedEx, UPS, and USPS shipping accounts at Setup>Accounting>Shipping. On this page, you can also set defaults and preferences for shipping.
Setting up the Shipping Items is your next step, and it’s where you’ll set rates for shipping and handling as well as rules and locational restrictions. Navigate to Lists>Accounting>Shipping Items to view existing shipping options or create new ones.
On the Shipping Item setup page, NetSuite gives you the choice of how you want to calculate your shipping. Each item can only have one option selected, but you can set up multiple shipping items to accommodate the needs of your business and its customers.
- Real-Time Rate: This option is only available if you have created your shipping account at Setup>Accounting>Shipping. With this feature, NetSuite will pull the rate directly from the shipping carrier based on ship to and ship from addresses.
- Flat Rate: Charge a flat rate to every customer who uses this shipping method.
- By Weight: Charge a flat rate per pound, ounce, gram, or kilogram.
- By Item: If you choose this option, specify the item shipping rate on the item card and a default shipping charge in case an item does not have a shipping charge specified.
- Percent of total: Charge shipping based on the order total.
- Shipping Table: Choosing this opens a new set of options right beneath. You can select a range and how much to charge for shipping based on those ranges of order total and weight.

After setting your rates, scroll through the remaining tabs to indicate which account you’d like to use if you’re using integrated shipping labels, if you have any free shipping options, and if you want to offer this option to all countries or restrict it based on shipping location.
Finally, you can choose whether certain inventory items come with free shipping so orders including those items ship free.
Once you’re satisfied with your shipping item, save it and create new shipping items for each shipping option you want to offer your customers. Test out their functionality by creating a new sales order and choosing the shipping option or by heading to the checkout screen of your NetSuite web store. If you’ve set up the shipping item correctly, your shipping should be calculated based on a flat rate, order total, order weight, or shipping location.
Shipping Setup Considerations:
When setting up your Commerce website, consider the following preferences on the Shopping subtab of the Website Setup page:
- Require shoppers to enter shipping information before checking out.
- Require shoppers to enter the shipping address before the billing address.
- Select a default shipping method for your website.
- Enable shipping to all countries or limit shipping to specific countries.
- Choose a default country to display on the Shipping page in the Web Store checkout.
Before selecting a default shipping method for your site, ensure you’ve registered your shipping accounts, set preferences, and set up shipping items in NetSuite.
Default Website Shipping Method:
The Default Website Shipping Method is the preferred shipping carrier displayed in Checkout. Set this preference if you want customers to see this shipping method first when checking out. You can select a default shipping method for your website whether you use multiple carriers or not.
To select a default shipping method for a website:
- Go to Commerce > Websites > Web Site List.
- Click Edit next to the website you want to modify.
- On the Shopping subtab, in the Shipping Page section, select a shipping method in the Default Website Shipping Method field.
- Click Save.
Customer Information:
If a shopper placed a previous order through your website, the customer record stores the shipping method selected for the last order. This information updates each time the customer selects a shipping method on the order form. The shopper’s previous shipping method choice is preselected in Checkout.
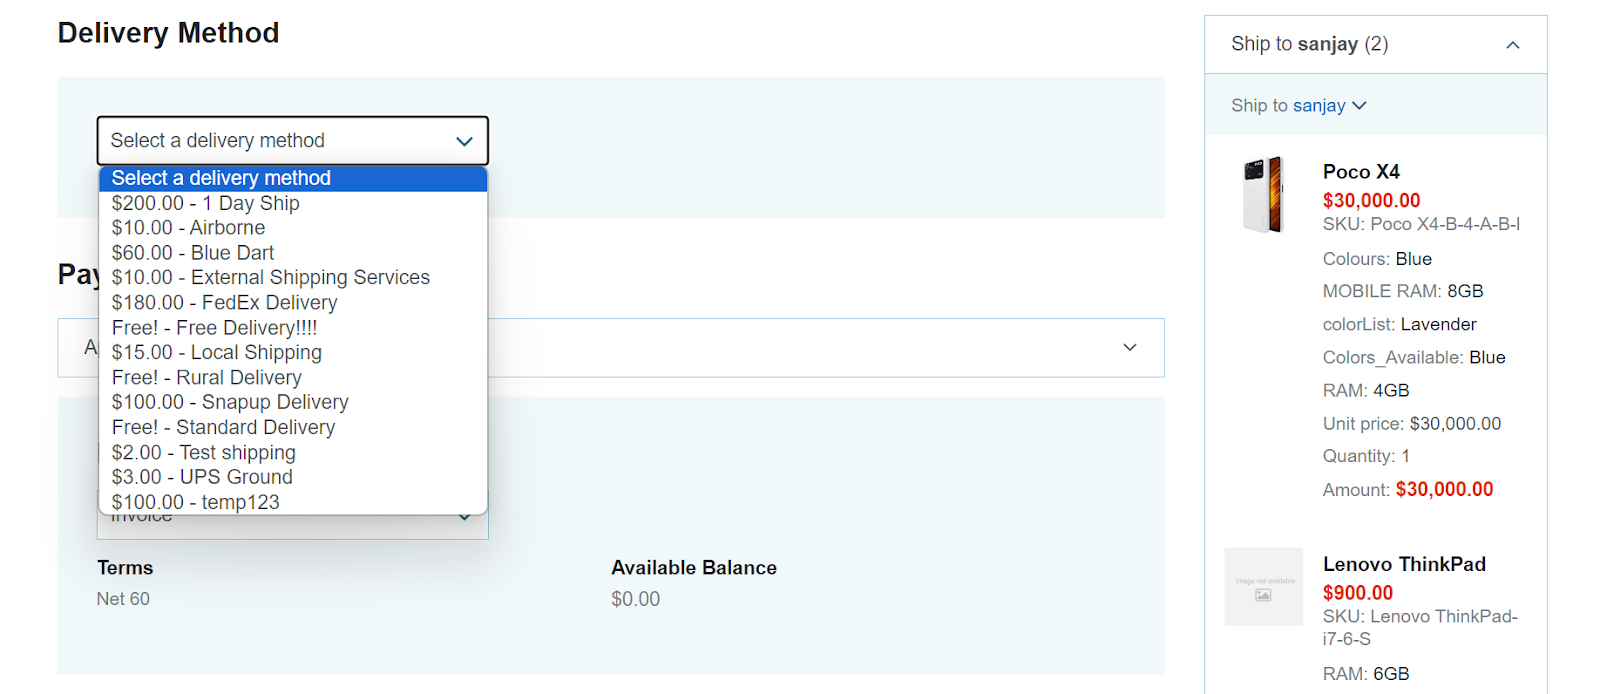
In the webstore when the customer checks out for an order , he can select the shipping methods as he likes as shown in the below figure.
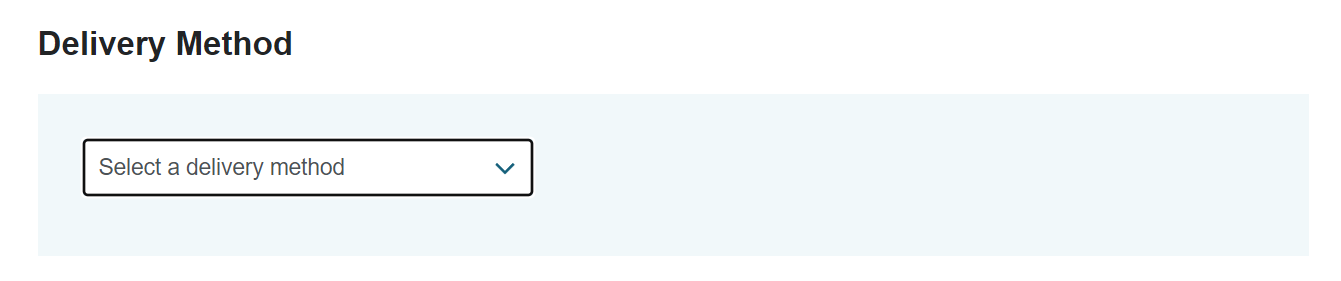
As shown in the below figure , he can select from the set of shipping methods that are available.
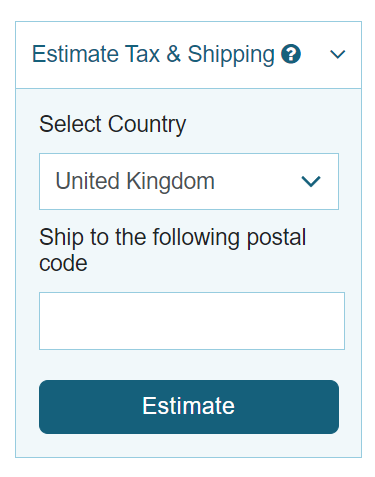
Shipping Estimator:
The Shipping Estimator displays as a dropdown field in the order summary box in the cart section of your website after your customer has added items to the cart. It displays the estimated shipping cost based on the Shipping Estimator Preference selected by the website administrator.
To estimate the shipping cost, the Shipping Estimator only requires customers to select a country and enter a postal code. Customers are required to enter a full shipping address later in the checkout process, and can choose a different shipping method prior to submitting the order.
In conclusion, NetSuite SuiteCommerce Advanced helps businesses ship successfully and efficiently, ensuring timely deliveries and heightened customer satisfaction. By following these straightforward navigation steps and considering essential setup preferences, you can effortlessly optimize the customer experience for your SuiteCommerce website.